Flutter & Smart Rubik’s Cubes: All you need to know
Flutter & Smart Rubik’s Cubes: All you need to know Hey, I’m Branislav! A Flutter developer with over 2 years of experience in the field. Last year, for my final year school project, I decided to …
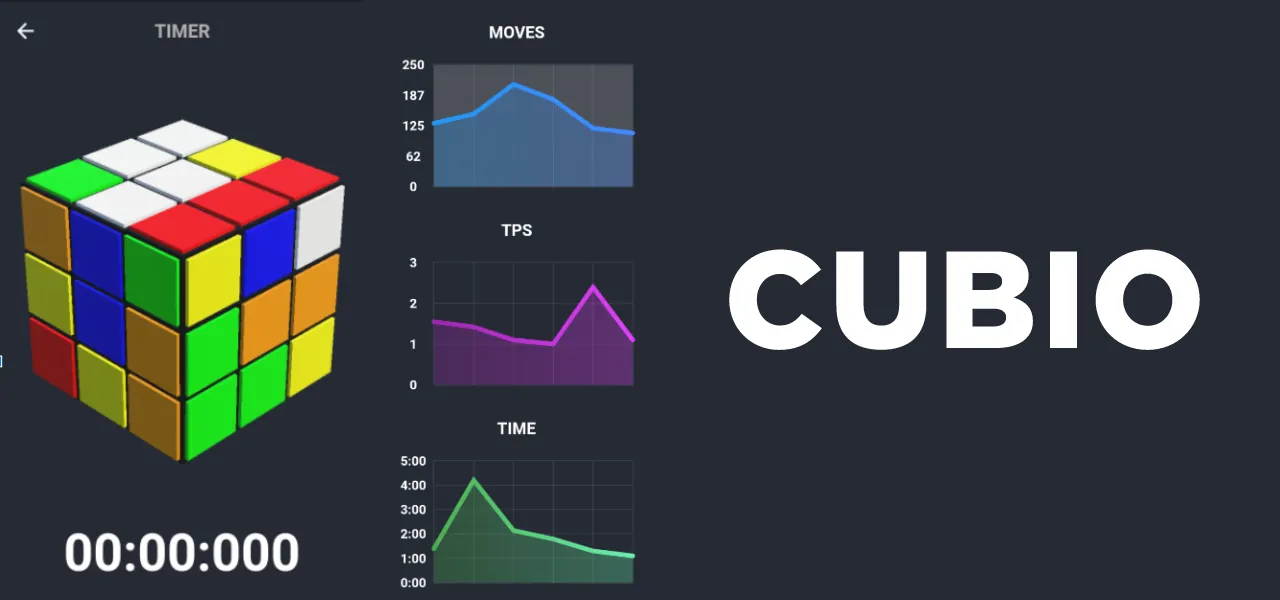
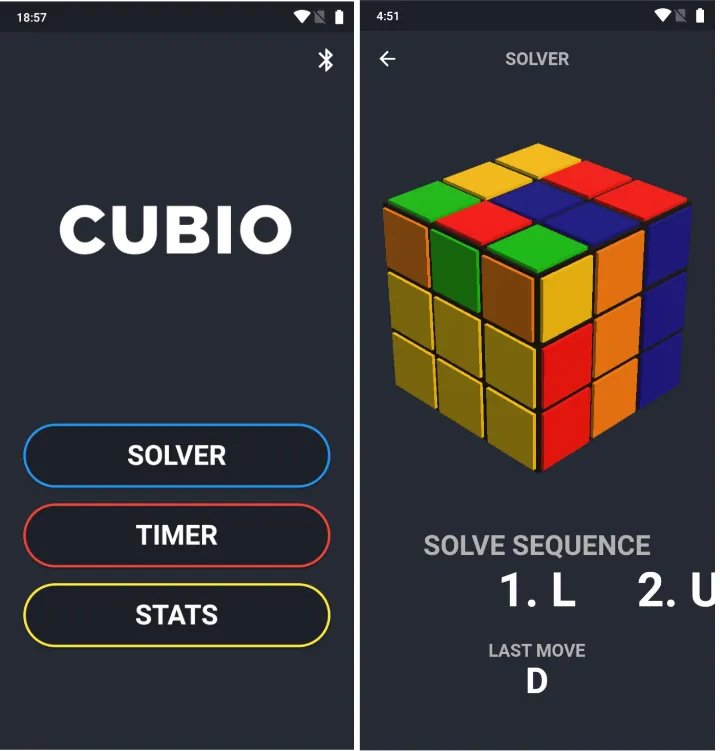
Hey, I’m Branislav! A Flutter developer with over 2 years of experience in the field. Last year, for my final year school project, I decided to combine Flutter with smart Rubik’s cubes in a project called Cubio.
One year later, having graduated from high school and now in university, I decided to write my first Medium article to share my journey, insights, and practical tips for working with Flutter and smart Rubik’s cubes after updating the project recently.
When I originally discussed potential ideas with my teacher, we came across an article by Juan Andrés Claramunt Pérez about the Xiaomi Mi Smart Rubik’s Cube. This article opened my eyes to exciting possibilities. Huge thanks to the author! Motivated by this, I saw an opportunity to connect this innovative technology with my favorite framework, Flutter.
For this project, instead of using the author’s mentioned Xiaomi Mi Smart Rubik’s Cube, I used a fairly similar, though slightly different, model — the Giiker Cube i3S.
To analyze the Bluetooth communication of the cube and identify patterns, I first needed to understand the structure and content of the data transmitted by the cube itself. I recommend that you read up on how Bluetooth works first.
With the help of Mr. Pérez’s article above, I knew to expect a 20-byte hexadecimal value that varied with each cube movement. The only task left was to verify that the data matched these expectations.
To do this, I downloaded what is likely the most popular app for this purpose — nRF Connect for Android. After connecting to the cube (you should hear a beep), I began moving it around. Here is the output I received:
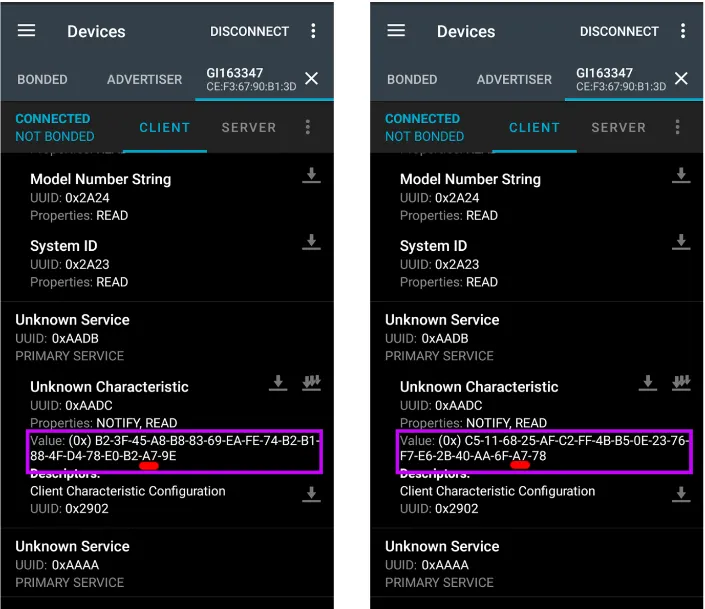
What was quite surprising to me was that even after making the same cube movement, I received different hexadecimal values each time. However, the value A7 (which is equal to 167 in decimal) was consistently the same across all movements.
The data itself, therefore, didn’t help us much. This raised the question: could this value be tied to the communication encoder or decoder? The only way to find out was to unpack the official app and investigate further.
It was time to decompose the official app — in this case, SUPERCUBE by Giiker. I tried multiple tools but found this Java Decompiler to be the most helpful. To obtain specific versions of the APK file, I used ApkPure. Upon decompiling the app, I discovered that it integrates Unity for the cube representation. Since Unity projects are typically written in C#, I used dnSpy to analyze the .dll and C# files.
The author mentions the path resources\\assets\\bin\\Data\\Managed, which is supposed to contain the target communication encoder and decoder classes. Interestingly, in newer versions of the app, the Unity project files are encrypted, making it impossible to access the .dll files referenced by the author. To overcome this, it is necessary to download an older APK version, specifically version 2.4.9 or earlier.
With this issue resolved and the directory paths being the same, I decided to continue with the article’s focus on finding the BluetoothDecoder class and its ConvertToPaperType method. By "paper type", imagine a 55-length array where the 0th value represents the cube's communication state (0 indicates success), while the remaining 54 items are represented by numbers 1–6, each corresponding to a color, as shown in the image below.
After carefully inspecting the class, I took a closer look at the ConvertToPaperType method. This method takes an array of 20 items and converts it into the previously mentioned easy-to-read 55-item array. I proceeded to rewrite the class in Dart so I could use it in the app. However, the 0th index never returned a success state (value 0). It was obvious that I couldn’t send the "raw" byte array directly to the method; I needed to find another approach.
That approach was to pass the raw byte array to another method first and then use it as a parameter for ConvertToPaperType. My target became the CubeDataMixDecoder method of the MixerDecoder class. This method takes the raw array and transforms it into an array of the same length, but one that can be used in the ConvertToPaperType method. Additionally, I noticed the A7 value mentioned in its decimal form as 167. I was on the right track now.
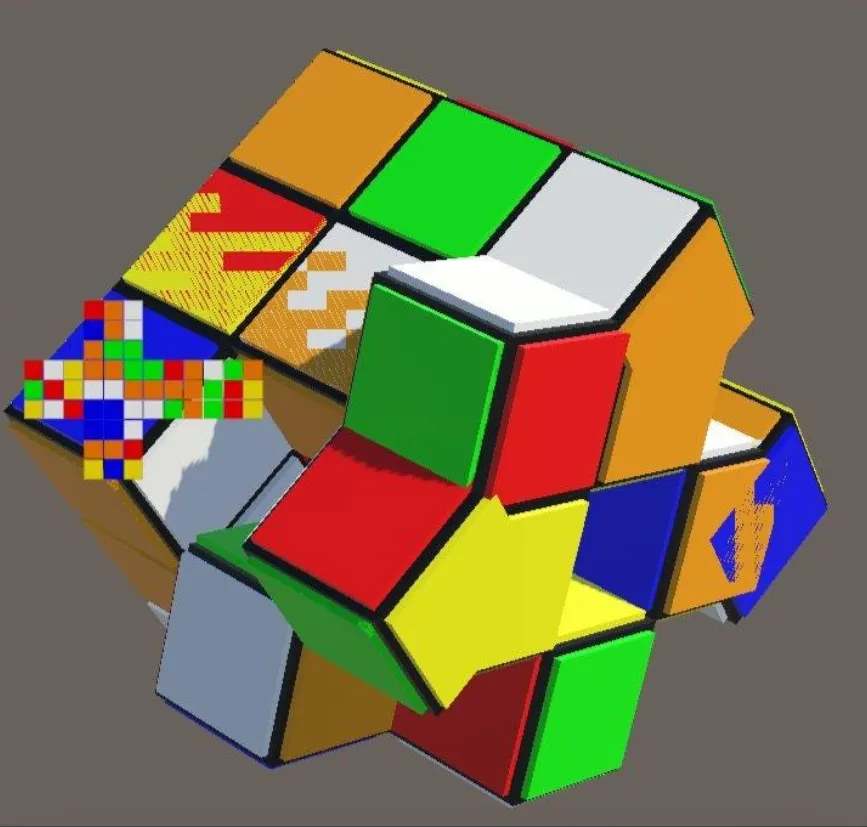
It was very interesting to see how different hexadecimal values might result in the same “paper type”.
Since the necessary elements and methods for the app were identified, it was time to rewrite them in Dart and focus on creating the 3D model of the Rubik’s cube in Unity, as well as developing the app itself.
Let’s now briefly go through the cube model that I will be creating for our app. As mentioned, it will be built in Unity. I don’t think I need to explain what Unity is. There are countless reasons why one would go for Unity in this case:
- Existing Unity <-> Flutter integration
- Engine with a great reputation
- Huge community around the engine
- The fact that it has been used in the official app as well
This was my first time using Unity. Therefore, as a base for the model, I’ve used the tutorial by Megalomobilezo — “Let’s Make & Solve a Rubik’s Cube in Unity”. Shout out to the author! After completing the tutorial, I ended up with a nearly finished product — but only on the outside. The technical state of the model wasn’t ideal for my needs.
In the final version, in addition to small details like setting the target frame rate to 60 frames per second, I also modified or even deleted many of the author’s methods, as they were unnecessary for the project.
The biggest problem with the author’s solution was that the cube would collide with itself at times because another move would start before the previous one was fully completed. To address this, I made significant changes to the movement logic, including implementing a timer and move queue by executing the first move from the queue every half a second.
To interact with the app, I created methods such as MyMove and SetupPosition. While the MyMove method allows me to send moves from the app, SetupPosition ensures that the model loads to the initial cube state, as the cube is not always solved at the beginning.
Since the cube model starts in a solved state, we can calculate the moves needed to return to the initial state by reversing the moves required to go from the initial state (passed as an argument) to the solved state.
Therefore, we can use the author’s C# implementation of the Kociemba algorithm and reverse the moves we receive. Reversing moves is quite straightforward — for example, a move R becomes R’. You then apply this to all the moves and reverse the resulting list.
The Kociemba algorithm is a well-known method for solving the Rubik’s Cube, combining group theory and search algorithms to determine the optimal sequence of moves. Although it is relatively complex to understand and implement, it is considered one of the fastest algorithms for this purpose.
However, sending the cube state as a parameter to this C# implementation requires a specific order of the cube's sides, which differs from the order used by our cube when sending data via the Bluetooth interface.
The correct index order for successfully returning the moves to solve the cube is as follows: [53, 52, 51, 50, 49, 48, 47, 46, 45, 11, 14, 17, 10, 13, 16, 9, 12, 15, 0, 1, 2, 3, 4, 5, 6, 7, 8, 18, 19, 20, 21, 22, 23, 24, 25, 26, 42, 39, 36, 43, 40, 37, 44, 41, 38, 35, 34, 33, 32, 31, 30, 29, 28, 27].
I’ll be discussing model export briefly in the app implementation section of the article.
With the model prepared, I was able to move on to the final part of the project — app implementation.
(Note that the model and app implementation were developed in parallel and are split into two parts here solely for the purposes of this article.)
Flutter caught my eye a few years ago. The ability to develop on multiple platforms with one codebase sounded unbelievable to me back then. Even though Cubio currently runs only on Android, expanding its functionality to other platforms would be fairly easy. The biggest challenge for this project was integrating Bluetooth and Unity communication. I could discuss other topics as well, but I think this article would become too long.
Let’s now look briefly at the Bluetooth integration. For this purpose, I decided to use the flutter_blue_plus package. From my understanding, it originated from the original flutter_blue package, whose support has been discontinued. That's where flutter_blue_plus steps in. When I first started this project, it didn’t have many updates, but as of July 2024, it’s the obvious choice.
What I really appreciate about this package is its robust documentation with plenty of example code. My original implementation used StateProvider (from the flutter_riverpod package) to store the FlutterBluePlus instance. However, recent updates have changed this, and it is no longer necessary to store the instance. The project has been updated to include this and other recent changes.
You can view how I implemented the entire Bluetooth communication in the project itself, but to illustrate, here’s how I connect to the cube’s communication characteristics:
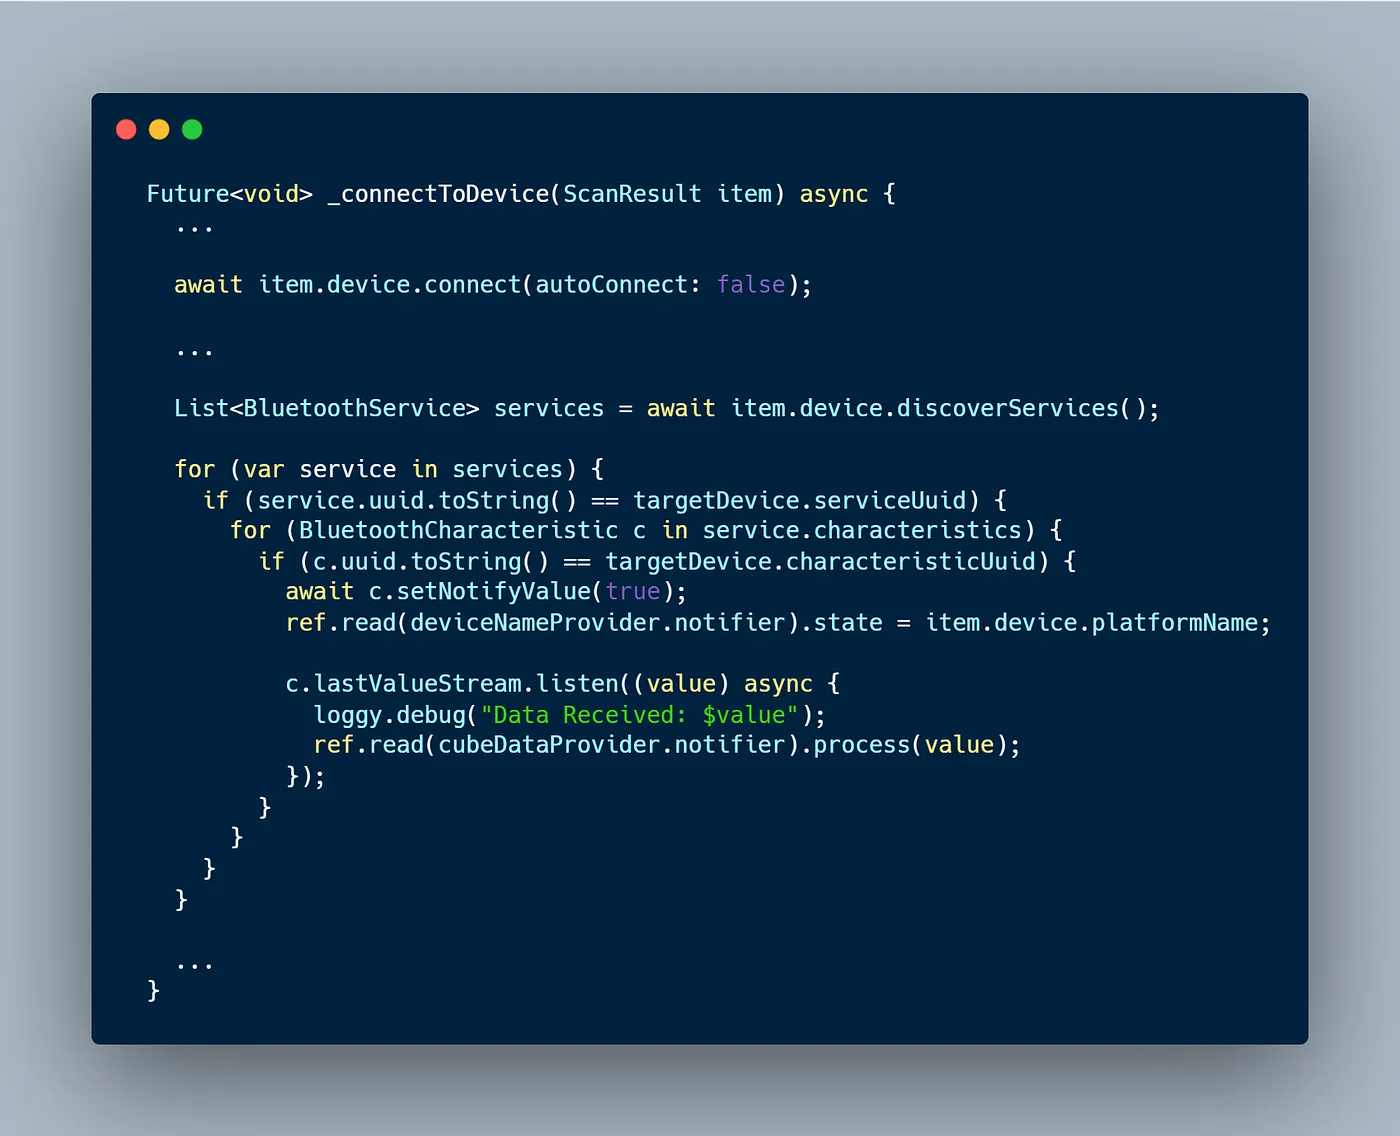
As you may have already noticed, I am using something called cubeDataProvider. This StateNotifierProvider is crucial for Rubik’s Cube communication within the app. Among other methods, the process function uses our CommunicationDecoder Dart implementation to convert the 20-value byte array into the previously mentioned "paper type," which is then passed to Unity via the following method:
To understand how this method works and what to add to your Unity model to make this method work correctly, read this article.
However, to use this method, you will first need to obtain the flutter_unity_widget package. It is key to connecting Unity and Flutter, as it not only helps us send and receive messages between the two but also provides a Flutter widget for rendering the target model:
The setup of this package would require an article of its own, so I will redirect you to the package documentation. It sets up not only the Flutter project but also Unity. Once the configuration is set up correctly, I preffered to use Export -> Android Release for exporting. Be careful to use Windows or macOS, as building with Linux results in a failure as of July 2024.
If you are doing this on your own, you may also encounter a gray background behind your Unity model. I was able to track down the problem and wrote a solution to fix it here. It was a pretty nice feeling contributing to an open-source project.
You can find the final result on Github. Remember, contributions to the repository and feedback are always welcome!
To sum up this incredible journey, I delved into a multitude of new experiences: from writing my first article to expanding my Flutter skills with Bluetooth and Unity integration, and finally, gaining hands-on experience with Unity itself, along with so much more.
Lastly, I hope you found this article insightful and helpful. Happy cubing!